First, ensure you've built out your Autonomous Data Warehouse. Create a schema called DW, and upload your dimensional model data into it.
Second, create your Autonomous Analytics cloud service. Before you can use the Data Modeler, you need to make a connection to your data in the Autonomous Data Warehouse. This was a sticking point for me, because it's not as straightforward as it could be. Once you figure it out though, it's an easy task.
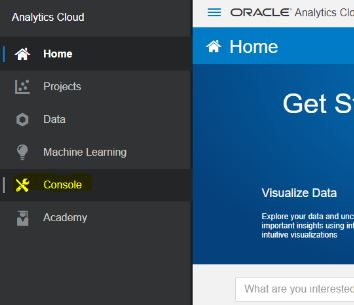
In the Autonomous Analytics page, click on the black side bar menu and choose Console.

The list of Connections should be blank. Click on the hamburger menu on the top right and choose Upload Wallet. This is the wallet to connect to your Autonomous Data Warehouse. The Autonomous Analytics instance needs it because it's got the path and connect string and stuff within it.

Make sure you use the cwallet.sso file within the zip file. You many get a notice about a virus checker. If you are sure that the wallet is ok, you can skip it.

You will get a notice that the wallet has been uploaded. This is the only way that you'll know that it's up there.


Now head over to your Autonomous Analytics instance and click on the hamburger menu in the top right corner and choose Open Data Modeler.

First thing, you're going to be asked to choose click on Create Model in the top right corner. Fill in the Model Name and choose the Database connection you just created and tested. Click OK.

And at last, you've successfully connected the data in your Autonomous Data Warehouse to your Autonomous Analytics instance!
No comments:
Post a Comment